Since we use Windows for software development at work, my first experience with Drupal was with XAMPP. I disliked using XAMPP or WAMP, mainly because I've used MacOS since 2018 for webdev work.
On my Macbook, I had a LEMP stack setup. I did have to install everything manually, but I liked it; it was fast, and I had complete control over it. I used Homebrew to install everything, and I had a few scripts to start/stop/restart the services.
Using XAMPP was like going back to the stone age; extending it was a pain, and I had to use many workarounds to get things working, and don't even get me started with SSL, slow loading times, and execution.
TL;DR: XAMPP is a pain to use, and I don't recommend it; also, PHP for Windows is not PHP for Linux.
As a side note, running PHPStan from the Windows command prompt would delete my files; I had to go through this multiple times to figure out what was happening. If it weren't for Git, I would have lost much work.
So here I was with a new project, downloading a zip file that contained Drupal, extracting it, and installing it via the browser; as time went by, I started looking for alternatives, and low and behold, I found DDEV.
Now I know there are other alternatives like Lando. But I was not too fond of it.
So, as it says on its website, DDEV is a Docker-based PHP development environment. It's super easy to set up, and once set up for the first time, you don't have to tinker around.
Prerequisites
To set up DDEV, you need docker; whether you're on Windows, macOS, or Linux, there's a solution. We'll be using WSL2 and Docker CE (Docker Community Edition).
Why WSL2 and Docker CE?
With WSL2, we'll have a Linux environment on Windows; precisely, we'll have Ubuntu 18.04 running, with its filesystem, and we'll be able to run Linux commands from the Windows Terminal.
The Windows terminal is a new terminal that Microsoft released in 2019; it's a modern terminal that supports multiple tabs and multiple shells.
So why Docker CE and not Docker Desktop? Because it's free of charge.
Installing WSL2
From Wikipedia: WSL 2 requires Windows 11 or Windows 10 version 1903 or higher, with Build 18362 or higher, for x64 systems, and Version 2004 or higher, with Build 19041 or higher, for ARM64 systems.
Open your start menu, type Turn Windows features on or off, and press enter. A new window will pop up, and you'll see a bunch of checkboxes, check the following boxes:
Hyper-vWindows Hypervisor PlatformWindows Subsystem for LinuxVirtual Machine Platform
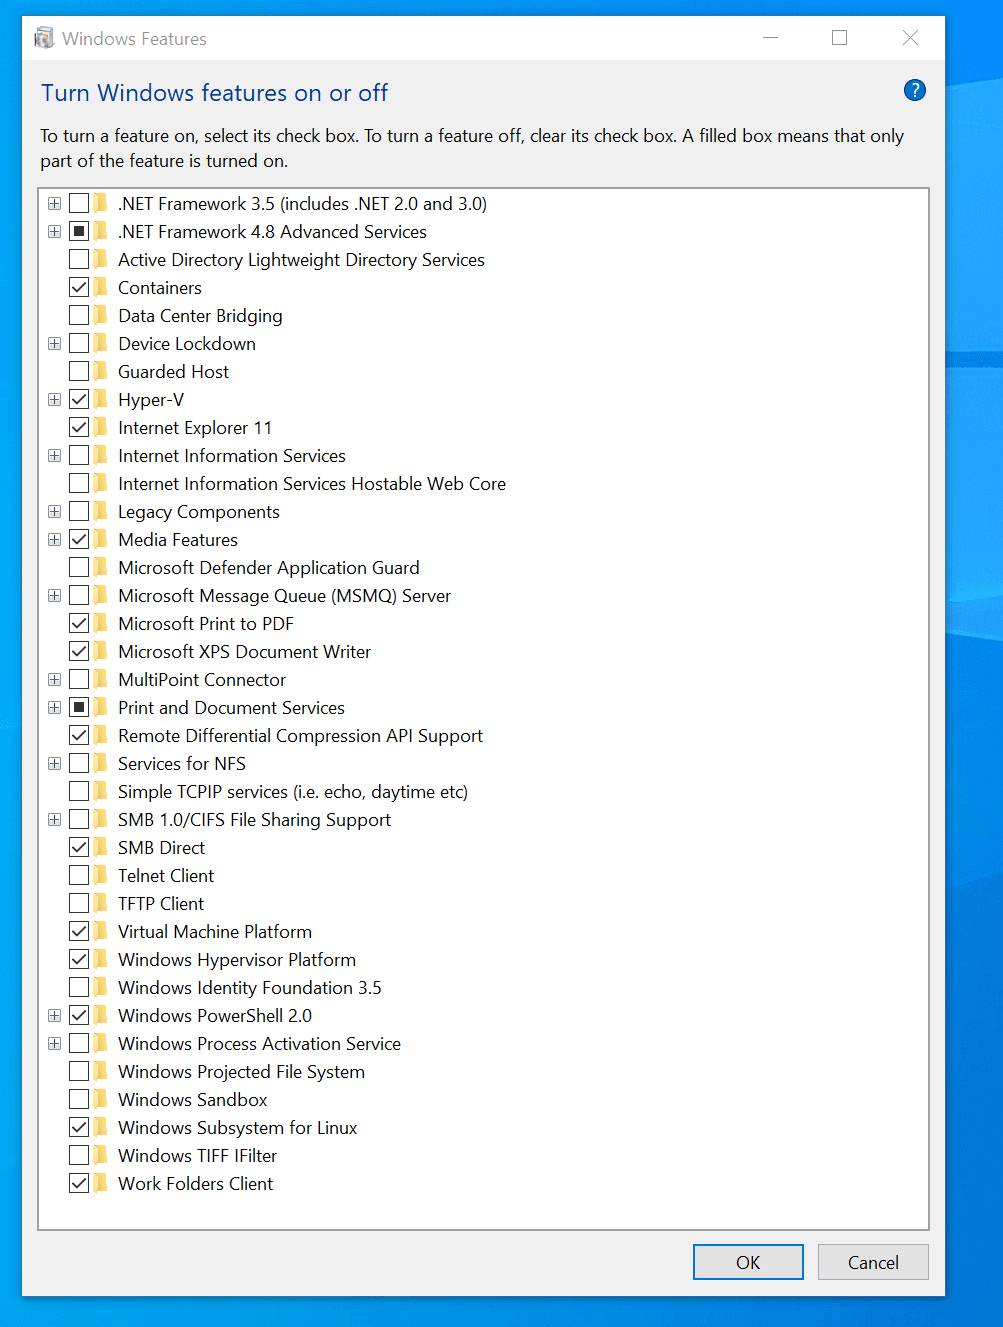
Press ok and restart.
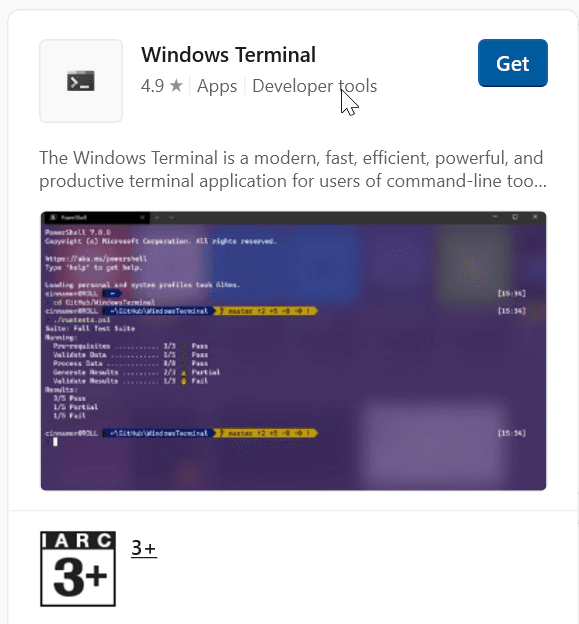
After restarting, open the Microsoft Store, search for Terminal install and run it.
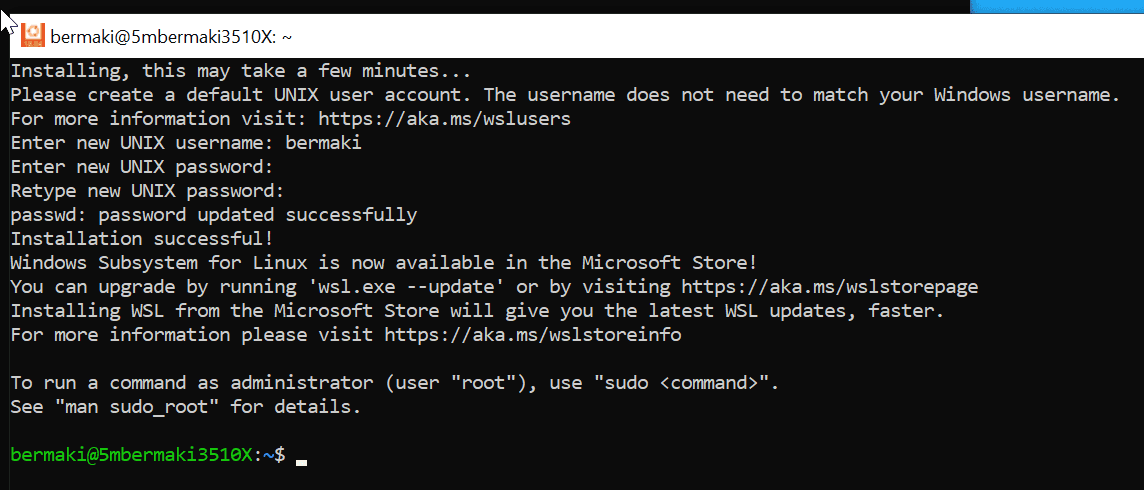
Now, we need to install Ubuntu 18.04. To do so, open the terminal, type wsl --install -d Ubuntu-18.04, and press enter.
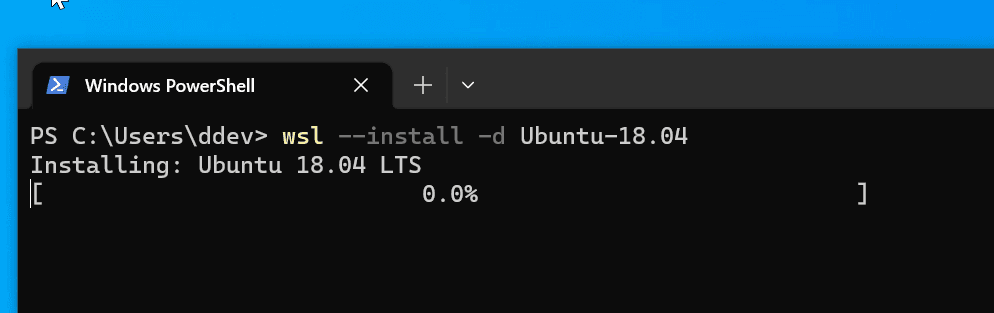
This will download and install Ubuntu 18.04, asking you to create a username and password. Once installed, you'll be automatically logged in and able to run Linux commands.
Exit the bash shell, and run wsl -l -v. If you see Version 1, you'll need to convert your Ubuntu installation to use WSL2. It's as simple as running wsl --set-version Ubuntu-18.04 2 and press enter. It will take a little time.

Note: you need to run wsl from the Windows terminal to access your ubuntu installation.
Installing Docker CE
Again, thanks to the DDEV Docs installing Docker CE is pretty simple,
- Open your terminal or PowerShell with administrative privileges and run the following command:
Set-ExecutionPolicy Bypass -Scope Process -Force; [System.Net.ServicePointManager]::SecurityProtocol = [System.Net.ServicePointManager]::SecurityProtocol -bor 3072;
iex ((New-Object System.Net.WebClient).DownloadString('https://raw.githubusercontent.com/ddev/ddev/master/scripts/install_ddev_wsl2_docker_inside.ps1'))
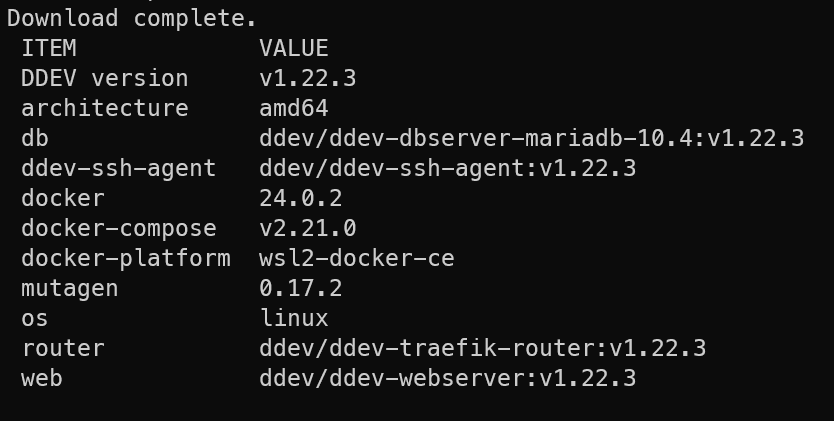
And that's it! WSL2 + Docker CE are installed.
(Optional) Customize your terminal by installing Zsh and Oh My Zsh
This is up to you, but I like to customize my terminal and use Zsh and Oh My Zsh. Follow the instructions on my Previous post.
Create a Drupal project with DDEV
Ok, Ready? By executing a few commands, we'll have A Drupal project, a database, a web server, node.js, and a mailhog server; just how cool is that?
Inside your Ubuntu installation, run the following commands:
mkdir ~/Sites/my-awesome-drupal-project
cd ~/Sites/my-awesome-drupal-project
ddev config --project-type=drupal9 --docroot=web --create-doc root
ddev composer create drupal/recommended-project:^9
ddev composer require drush/drush:10.6.2
ddev drush site:install --account-name=admin --account-pass=admin -y
ddev drush uli
That's it! With your new Drupal installation, a new window will open in your browser, and you'll be logged in as an admin.
Drush is a command line tool that allows you to do many things, like installing Drupal, creating users, clearing cache, etc. I go more in-depth in my Drush Post.
And That's it for today! I hope you found this helpful post. If you have any questions, please contact me on LinkedIn.
Happy coding!