Customizing Your Ubuntu Terminal: Installing Zsh and Oh-my-zsh
- Published on
- • 4 mins read•––– views
In my quest for a better terminal experience, and throughout the years, I've tried many shells and plugins, and of all the combinations I've tried, Zsh and Oh-my-zsh is the one I've stuck with the longest. It's a powerful combination that makes your terminal experience a breeze and is highly customizable. In this article, I'll show you how to install Zsh and Oh-my-zsh on your Ubuntu system and customize it with the powerlevel10k theme.
If you're unfamiliar with Zsh, it's a shell designed for interactive use, an extended version of Bash with many improvements. It's highly customizable and has many features that make your life easier, like auto-completion, spelling correction, and many more. Oh-my-zsh is a framework for managing Zsh configuration, and it has many features and plugins that make your terminal experience even better.
I'll be using Ubuntu 18.04 for this tutorial, but you can use any Ubuntu version or any other Linux distribution as long as it supports Zsh.
Step 1: Install Zsh
- Update your package list and install Zsh using these commands:
sudo apt update
sudo apt install zsh -y
exec zsh
- Set Zsh as your default shell:
chsh -s $(which zsh)
exit and enter again
echo $SHELL
Step 2: Install Oh-my-zsh
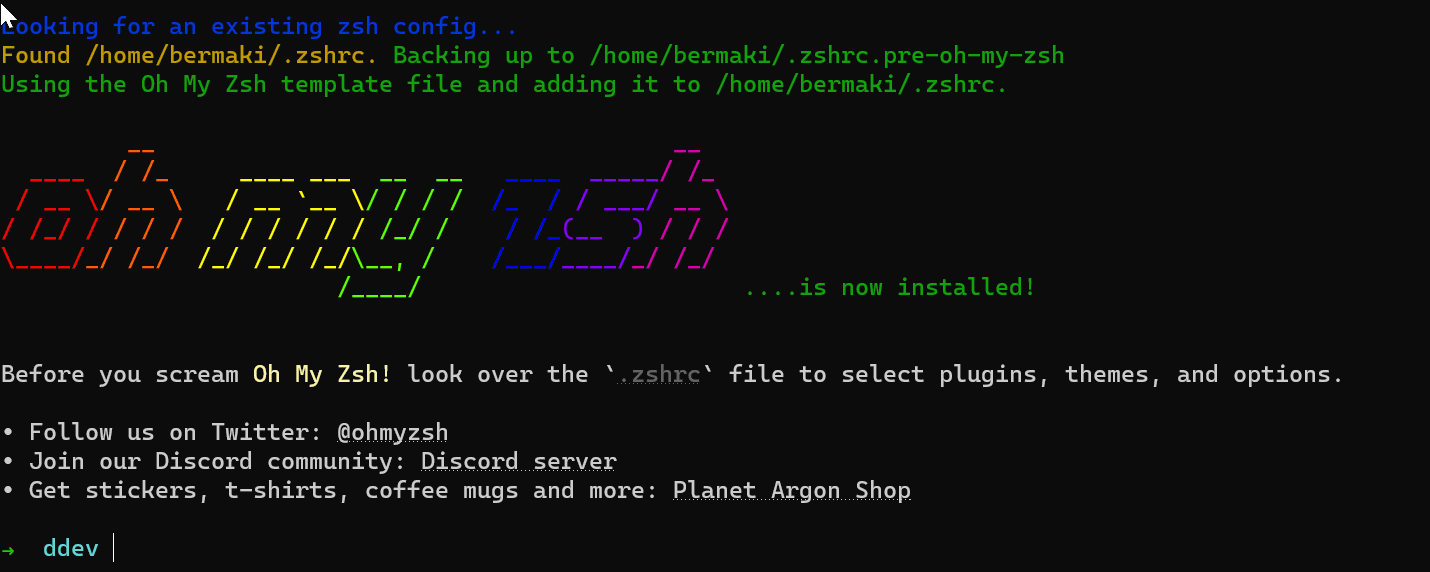
Just as its website, installing Oh-my-zsh is as easy as running one command:
sh -c "$(wget https://raw.github.com/ohmyzsh/ohmyzsh/master/tools/install.sh -O -)"
exec zsh
The powerlevel10k theme
The powerlevel10k theme is a highly customizable theme for Zsh; you can find more information and additional information about it here.
Step 3: Install Powerlevel10k Theme
git clone https://github.com/romkatv/powerlevel10k.git $ZSH_CUSTOM/themes/powerlevel10k
Note: Before you continue, ensure the recommended font is installed on your system. You can find it here
Step 4: Configure Fonts
- Install Font Manager for Ubuntu to manage fonts on your system:
sudo apt-get install font-manager -y
- Create a directory for your fonts and navigate to it:
mkdir ~/.fonts
cd .fonts
- Download the MesloLGS Nerd Font patched for Powerlevel10k.
wget https://github.com/romkatv/powerlevel10k-media/raw/master/MesloLGS%20NF%20Regular.ttf
wget https://github.com/romkatv/powerlevel10k-media/raw/master/MesloLGS%20NF%20Bold.ttf
wget https://github.com/romkatv/powerlevel10k-media/raw/master/MesloLGS%20NF%20Italic.ttf
wget https://github.com/romkatv/powerlevel10k-media/raw/master/MesloLGS%20NF%20Bold%20Italic.ttf
- Update your font cache so that your new fonts will be available:
fc-cache -f -v
If you're using the Windows terminal app on Windows 10, set your font to MesloLGS NF Regular from the settings and restart your terminal.

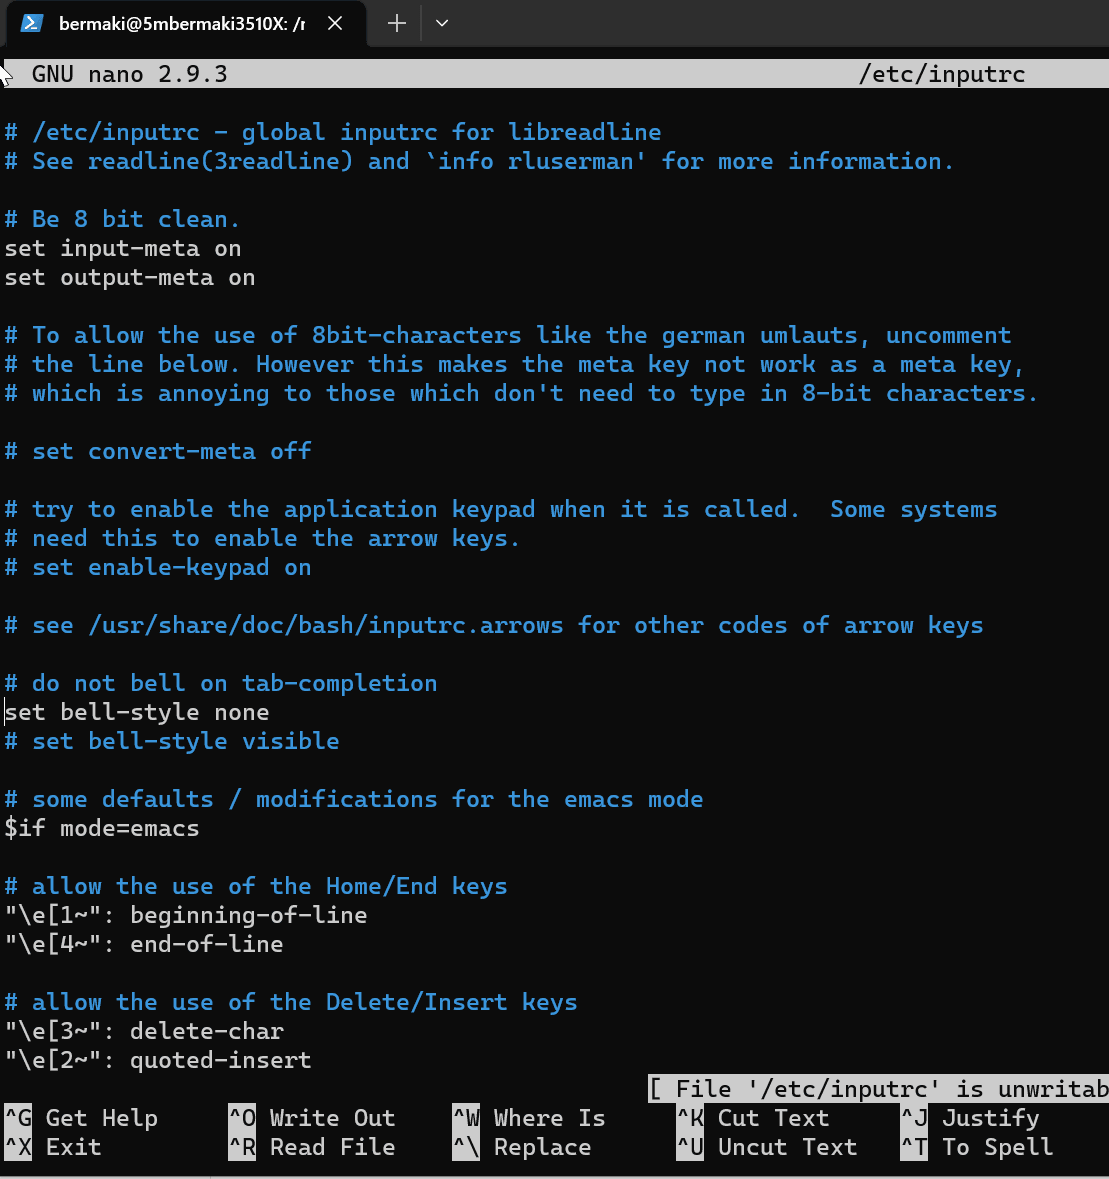
Optional step: Remove the the bell on the windows terminal by uncommenting set bell-style none in your .inputrc file.
- Configure your terminal to use the powerlevel10k theme:
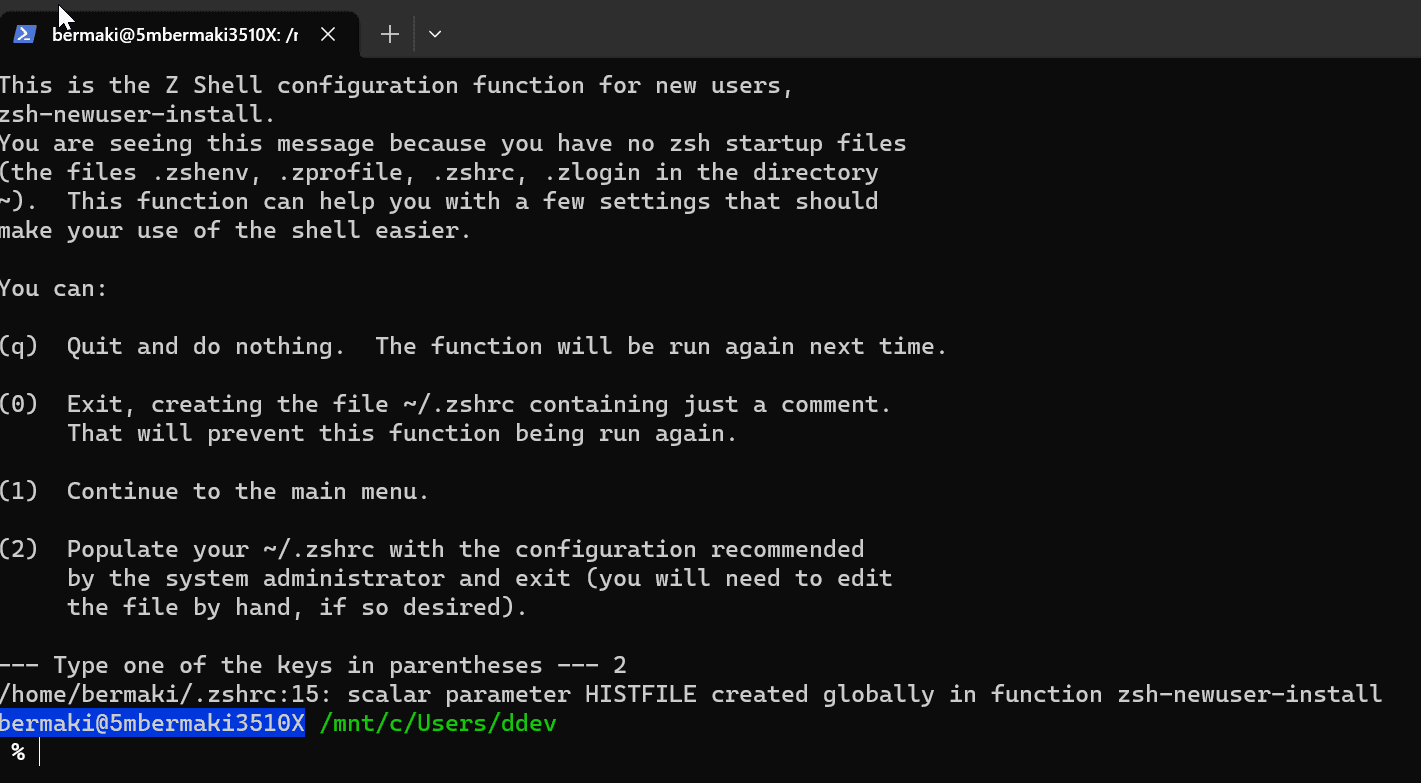
nano ~/.zshrc

# Change the theme to powerlevel10k, where it says ZSH_THEME="robbyrussell"
ZSH_THEME="powerlevel10k/powerlevel10k"
- Restart your terminal, and you'll be prompted to configure the powerlevel10k theme. You can choose the recommended settings or customize it to your liking. If you're not prompted, you can run the configuration wizard manually:
p10k configure
Step 5: Additional Enhancements
For extra features, you can install plugins like syntax highlighting and auto-suggestions, although I only use the auto-suggestions plugin, as the syntax highlighting plugin slows down my terminal.
git clone https://github.com/zsh-users/zsh-syntax-highlighting.git ${ZSH_CUSTOM:-~/.oh-my-zsh/custom}/plugins/zsh-syntax-highlighting
git clone https://github.com/zsh-users/zsh-autosuggestions ${ZSH_CUSTOM:-~/.oh-my-zsh/custom}/plugins/zsh-autosuggestions
Now, your Ubuntu system has a customized and powerful terminal, making your development tasks a breeze.
And That's it for today! I hope you found this helpful post. If you have any questions, please contact me on LinkedIn.
Happy coding!